Replacing Images
🔁 How to Replace an Image
- Select an image to replace it.
- Click on the Replace Image button that appears in the upper left of the editor (if available).

- In the pop-up window that appears you can either:
- Select a designer image (if provided), or
- Upload one of your own to replace the current image. To upload an image, either click where it says Add a file, or drag and drop the image into the designated area in the pop-up.

- When you have the desired image, click on the Replace Image button to automatically replace the image.
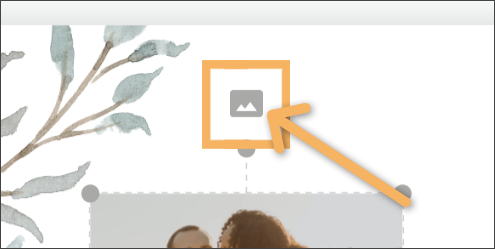
🖼️ Images in Frames/Clipping Masks
Some images you are able to replace will be attached to a Clipping Mask (or frame). A small “image” icon button will identify these images when selected as shown below:
These images can be replaced in two ways:
- Use the Replace Image button.
- Drag & Drop - Upload your photo by using the Upload Images button found in the Images tab in the left menu area. Next, add that image to the canvas and drag and drop it over the image you want to replace. The image will automatically replace the current image with the new one.

🔧Adjusting Images in the Frame
Double-click on an image in a frame and you can move, resize, and readjust the image position. To zoom in or out, use the small "dots" in the corners of the image.
